DIY Nails at Home Like a Pro: Tools, Steps & Salon Secrets
DIY nails at home like a pro: the exact manicure tools (clippers, cuticle nipper, glass file), the step-by-step salon method, and the mistakes that ruin at-home nails.
By Lola’s Mom · September 12, 2026 · 9 min read
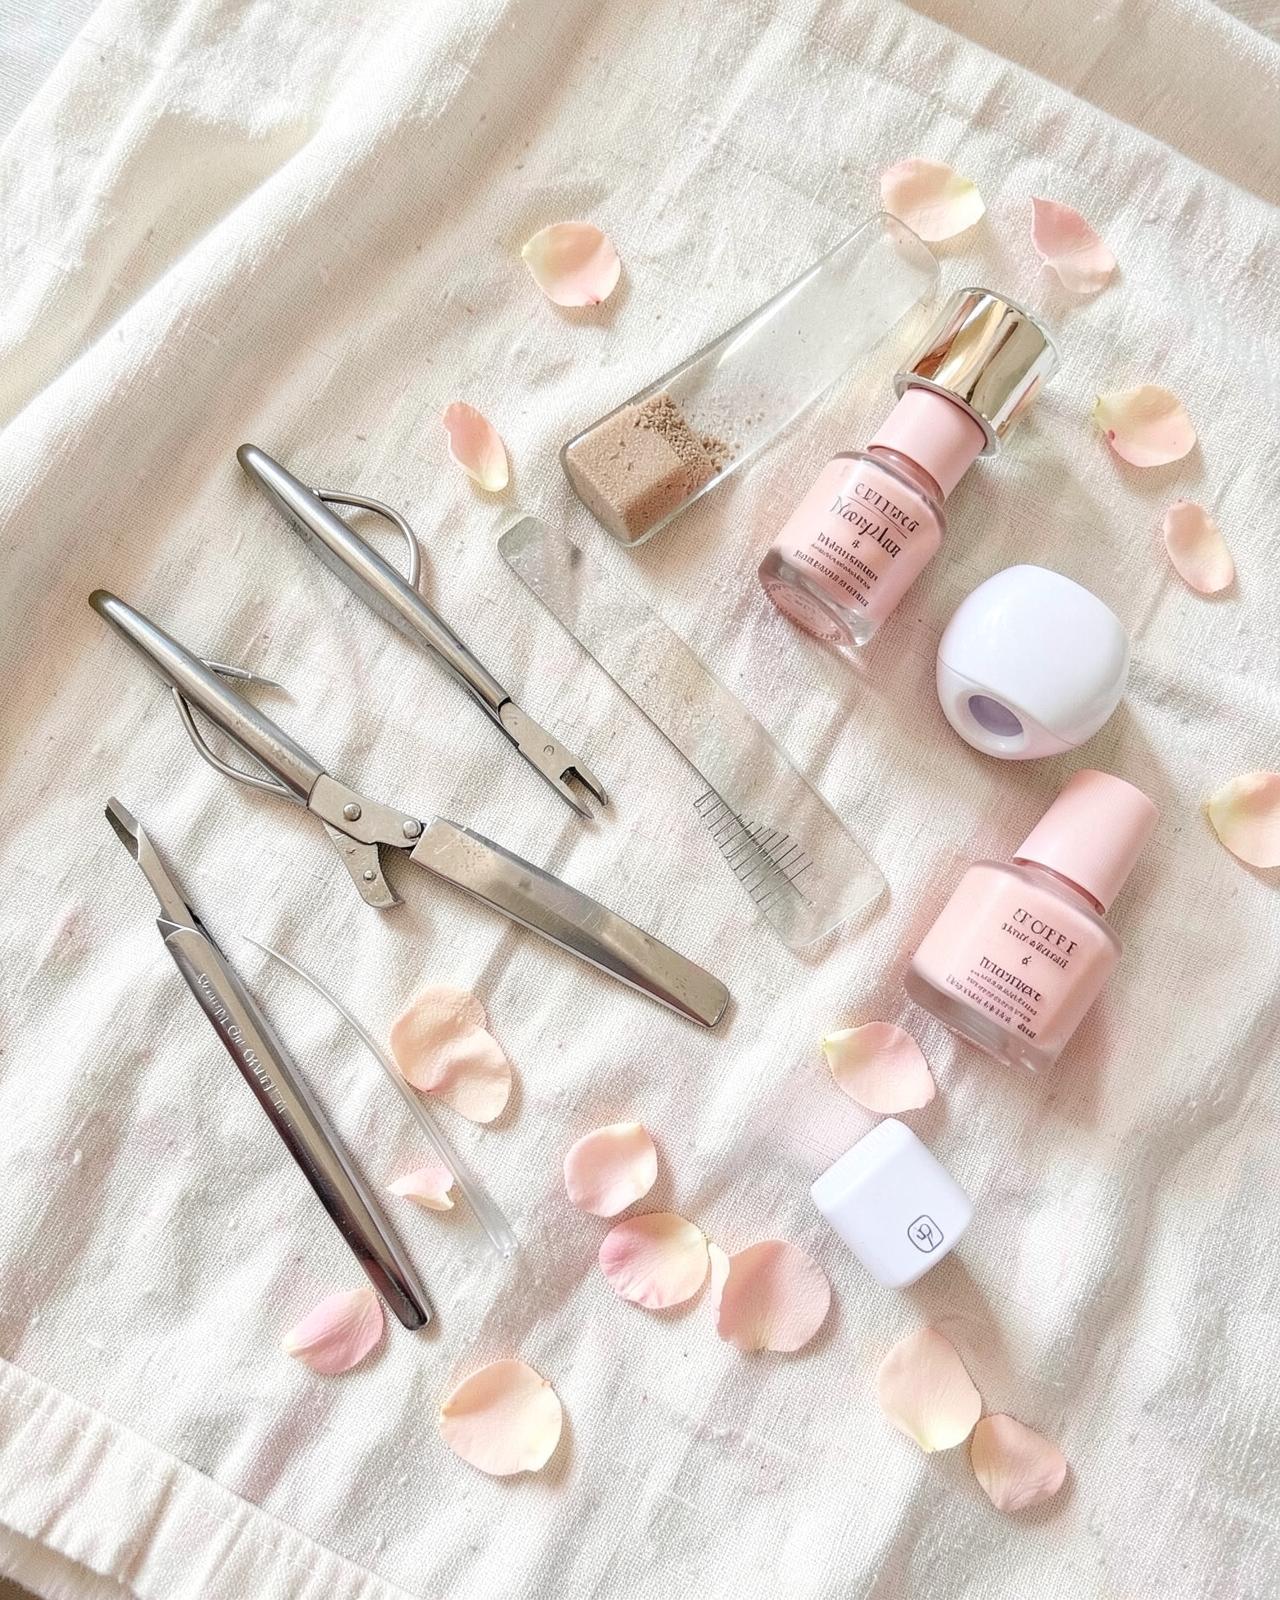
Short version: the difference between a kitchen-table manicure and a salon one is not talent — it is prep and tools. A dry prep, a proper cuticle nipper, a glass file and thin coats get you 90% of the way there for about the price of one salon visit.
The pin that sent me down this rabbit hole said it best: no more nail salon visits that cost an average of $50 for simple designs — you can do it yourself. And it is true. Salons are lovely, but the actual technique behind a clean, long-lasting manicure is a repeatable routine anyone can learn at home in an evening.
This is my full at-home method: the tools worth buying once, the step-by-step in the order professionals do it, and the five mistakes that quietly ruin DIY nails. If you want the gel version with gentler chemistry, my HEMA-free gel nails guide pairs perfectly with this one — and the whole nail shelf lives on the Soft Life Shop.
How do you do your nails at home like a professional?
Do a dry prep (never soak), push cuticles back and remove the film on the nail plate with a cuticle nipper, shape with a glass file in one direction, buff lightly, dehydrate with 91% alcohol, then apply thin coats — base, two colors, top — sealing the free edge of every coat. The whole manicure takes about 25 minutes once you have the rhythm.
The cost math that convinced me
A basic salon manicure runs $25–$45, a gel one $50–$75, and that is before tip — every two to three weeks. Call it $800–$1,200 a year for nails you could be doing on your sofa. A complete at-home kit is roughly $40–$80 total, and the tools last years.
The honest trade-off is time: your first few manicures will take 40 minutes while you learn. By the fourth or fifth one it drops to about 20–25 minutes — less time than driving to the salon and waiting for a chair.
The essential DIY nail kit (buy once, keep for years)
You need seven things, and none of them come from a 60-piece mystery kit:
Nail clippers — a sharp, straight-edge pair. Dull clippers crush and split the nail tip instead of cutting it, and that splitting travels upward as peeling.
Cuticle nipper — the single most skipped tool, and the one that makes nails look done. Use it only to remove the thin dead film on the nail plate and true hangnails — never living skin.
Glass nail file — seals the nail edge as it files instead of shredding it. Emery boards are why home-filed nails peel.
Buffer block — a light pass to matte the surface so polish grips. Ten seconds per nail, no more.
Cuticle pusher — rubber-tipped or steel, used gently after a shower when skin is soft.
Cuticle oil — the cheapest item and the one that keeps the whole thing looking fresh between manicures.
91% isopropyl alcohol + lint-free wipes — the dehydrating step nobody does at home and everybody does in salons. This is what stops early chipping.
Add a 48W LED lamp and base/top coat only if you want gel; classic polish needs nothing else.
Step by step: the 25-minute salon manicure
1. Remove every trace of old polish, including around the cuticle line — leftover color there is what makes a fresh manicure look messy by day three.
2. Clip to length, then file. Clip first so you file less. Shape with the glass file in one direction — sawing back and forth frays the tip.
3. Dry prep your cuticles. Do not soak — water swells the nail plate and polish applied to a swollen nail pops off as it dries. Push cuticles back gently, then use the nipper to remove only the translucent dead film stuck to the plate. That film is invisible and it is exactly where lifting starts.
4. Buff lightly, dust, dehydrate. A few passes with the buffer, brush off the dust, then wipe every nail with alcohol on a lint-free wipe. After this, touch nothing — no face, no hair, no hand cream.
5. Base coat, thin, capped. Swipe the brush across the free edge to seal the tip. Every single coat gets capped — this alone adds days of wear.
6. Two thin color coats. Thin is non-negotiable. Three thin coats beat two thick ones every time; thick polish never fully dries underneath and dents by morning.
7. Top coat, cap the edge again, then cuticle oil once dry. Re-oil daily — it is the difference between a manicure that looks good for three days and one that lasts two weeks.
The five mistakes that ruin DIY nails
Almost every chipped, lifted or streaky home manicure traces back to one of these:
Soaking before polish — swollen nails shed polish as they shrink back. Dry prep only.
Skipping the cuticle film — polish never sticks to the film, so it lifts from the base first.
Oils after the alcohol wipe — one touch of face or hand cream undoes the dehydrating step.
Thick coats — they wrinkle, dent and chip in sheets. Thin, thin, thin.
No capped free edge — unsealed tips are where water gets in and chipping starts.
Fix those five and the 'my nails only last two days' problem disappears.
Beginner-friendly designs that look expensive
You do not need nail art skill to make DIY nails look intentional:
The clean sheer manicure — one or two coats of milky pink or nude. The most forgiving look and the one that photographs like a salon visit.
Micro-French — a whisper-thin white tip drawn with a striper brush. Looks difficult, takes five minutes.
Press-ons for events — modern no-glue press-ons last a week and come off with warm water. Zero skill, maximum effect.
One accent nail — a single glitter or chrome nail per hand hides a multitude of beginner wobbles.
And if a design goes wrong: cleanup brush dipped in acetone around the edges is what salons use to get that crisp line. It fixes almost anything.
Keeping your natural nails healthy underneath
DIY only saves money if your nails stay strong. File in one direction, never peel polish or gel off (that removes layers of the nail itself), give nails an oil treatment night once a week, and if they feel bendy after removals, run a week of strengthening base coat before the next color.
For gel removal specifically — file off the shine, soak in acetone wraps for 10–15 minutes, push gently, never scrape. My HEMA-free gel guide has the full removal routine.
Shop this story
Amazon · Sephora · Ulta · affiliateEvery pick below links straight to Amazon, with Sephora and Ulta as backups if something's sold out.
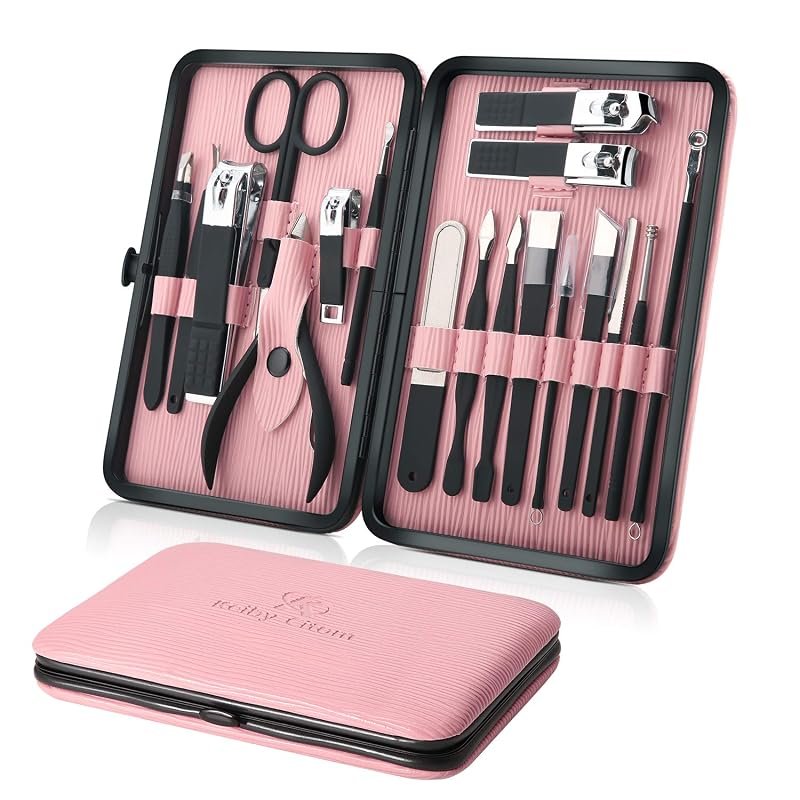
Amazon find
Manicure Set, 18 Pieces Stainless Steel
“Clippers, nipper, pusher and files in a pink case — the whole kit in one buy.”
~$15
Affiliate link — paid link
Keiby Citom
Manicure Tool Set, Full Kit
“The clippers-and-pusher upgrade if you want a sturdier everyday case.”
~$14
Affiliate link — paid link
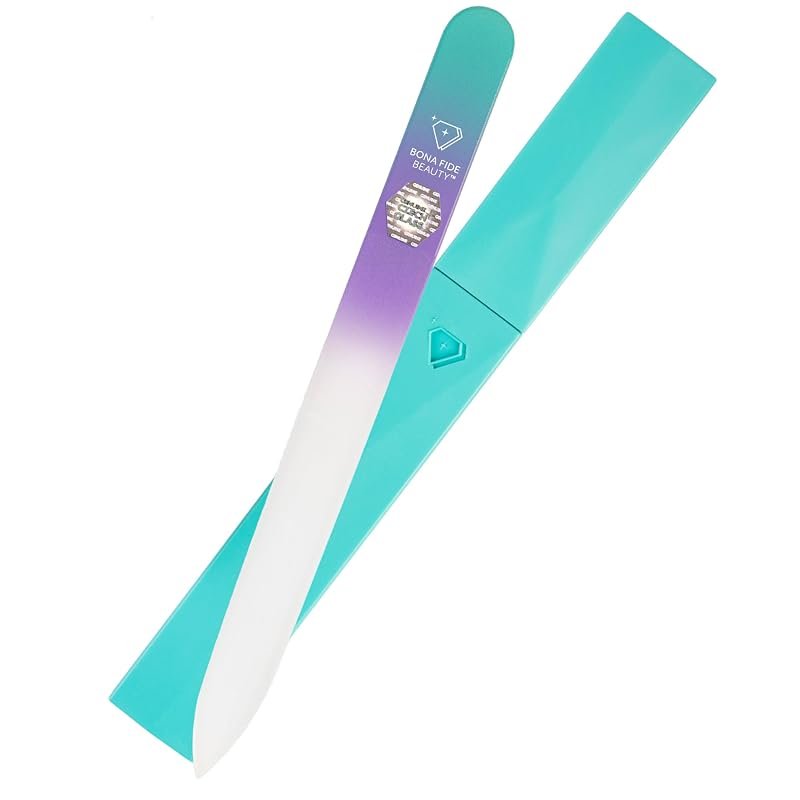
Bona Fide Beauty
Czech Glass Nail File with Case
“Seals the nail edge as it files so nails stop peeling. Lasts years.”
~$9
Affiliate link — paid link
Mont Bleu
Glass Nail File
“The under-$10 shaping file — one-direction strokes, no splitting.”
~$9
Affiliate link — paid link
Blue Cross
Cuticle Remover Gel
“Salon-standard sixty-second cuticle prep before the nipper. Lasts a year.”
~$8
Affiliate link — paid link
Amazon find
4-Way Buffer Block Set
“A light buff makes polish grip and last. Ten seconds per nail — no more.”
~$7
Affiliate link — paid link
Amazon find
Lint-Free Wipes + 91% Isopropyl Prep Set
“The dehydrating step salons never skip. This is what stops day-two chipping.”
~$10
Affiliate link — paid link
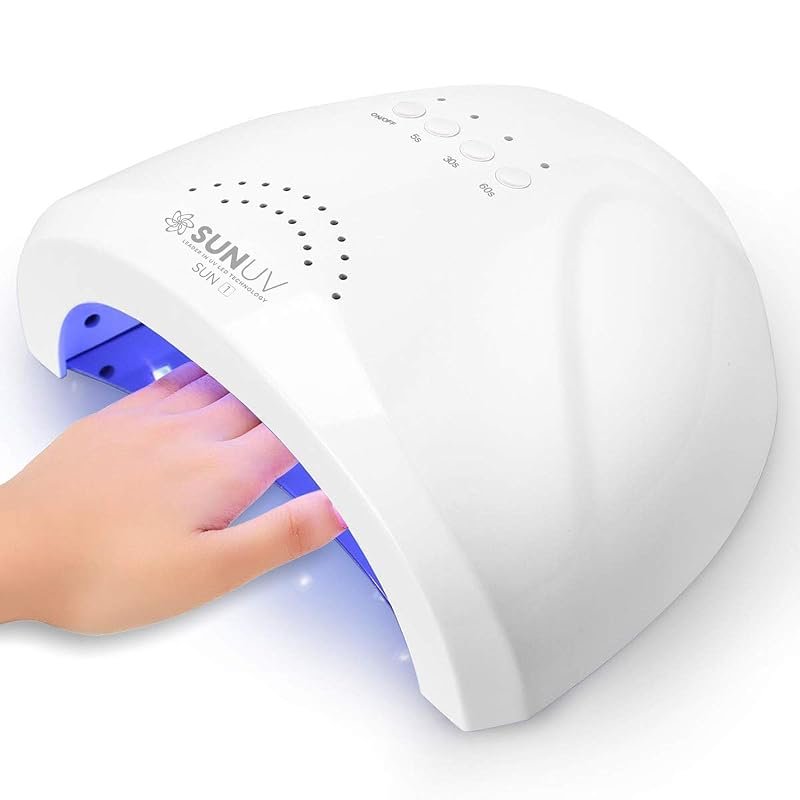
SUNUV
UV LED Nail Lamp, 48W
“Only needed for gel — but if you go gel, upgrade this before anything else.”
~$19
Affiliate link — paid link
Essie
Gel Couture Top Coat
“Salon-level glass shine without a lamp — the weekly top coat that lasts.”
~$12
Affiliate link — paid link
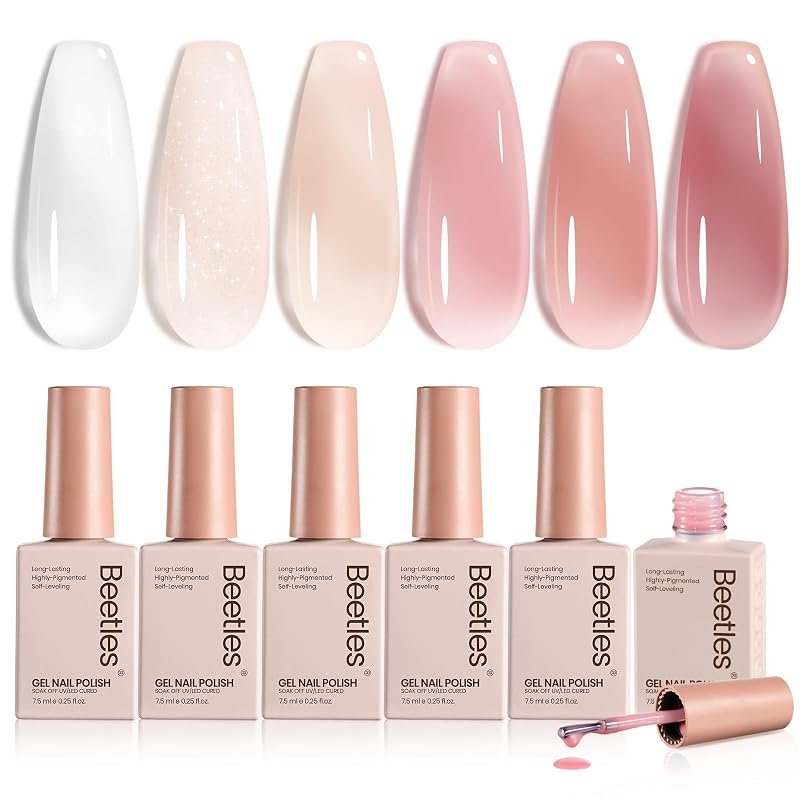
Beetles
Jelly Gel Set, 6 Milky Shades
“The milky-pink sheer manicure shades. Two thin coats, capped edges.”
~$11
Affiliate link — paid link
Amazon find
Fine Striper Brush Set for Micro-French
“Whisper-thin French tips in five minutes. Looks expert, needs no skill.”
~$6
Affiliate link — paid link
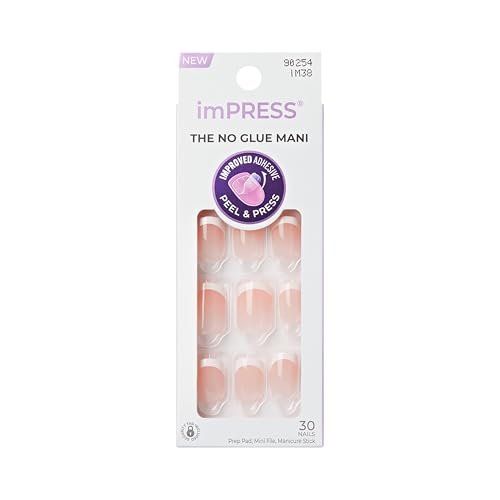
Sally Hansen
Hard as Nails Strengthener
“Doubles as base coat and treatment for bendy nails between manicures.”
~$7
Affiliate link — paid link
CND
SolarOil Nail & Cuticle Conditioner
“The cuticle oil every nail tech carries. Nightly use keeps edges sealed.”
~$18
Affiliate link — paid link
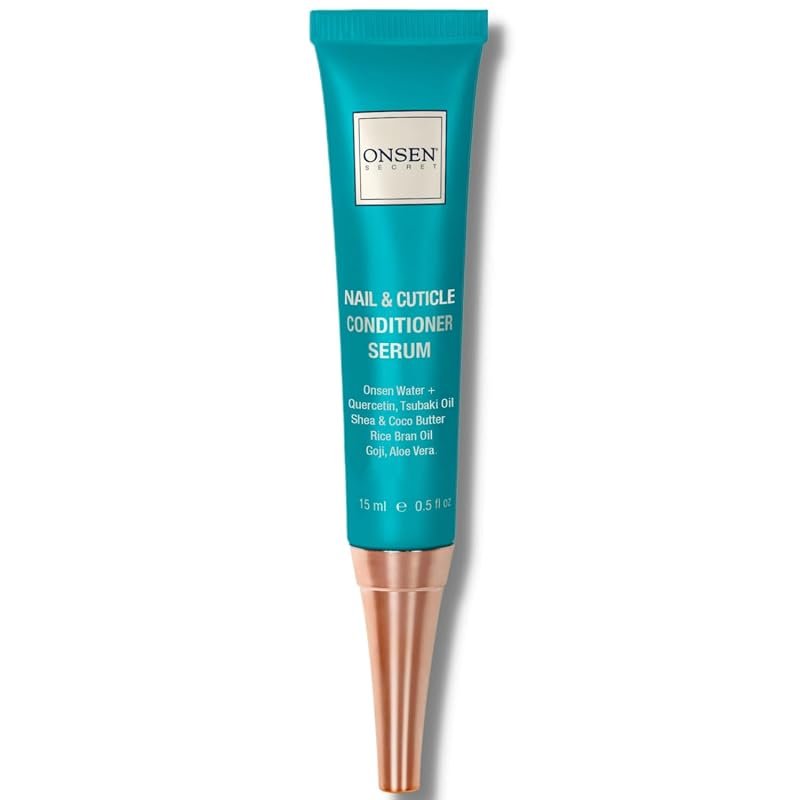
Onsen
Nail & Cuticle Cream with Tsubaki Oil
“Daily oiling is what keeps a manicure looking fresh into week two.”
~$9
Affiliate link — paid link
Questions readers ask
Is it cheaper to do your own nails at home?
Yes, by a wide margin. A full at-home kit costs roughly $40–$80 once, while salon manicures run $25–$75 every two to three weeks — around $800–$1,200 a year. Most people break even before their second home manicure.
What tools do I need for a professional manicure at home?
Seven things: sharp nail clippers, a cuticle nipper, a glass nail file, a buffer block, a cuticle pusher, cuticle oil, and 91% isopropyl alcohol with lint-free wipes. Add a 48W LED lamp and base/top coat only if you want gel.
Why do my at-home nails chip after two days?
Almost always one of five causes: soaking before polish, leftover cuticle film on the nail plate, touching oils after the alcohol wipe, coats applied too thick, or an uncapped free edge. Fix those and two weeks of wear is normal.
Should I soak my nails before a manicure?
No — that is a salon habit that works against polish wear. Water swells the nail plate, and polish applied to a swollen nail lifts as the nail dries and shrinks. Professionals doing long-wear manicures use a dry prep instead.
How do I make my DIY manicure look professional?
Three things: remove the invisible cuticle film from the nail plate with a nipper, keep every coat thin, and clean the edges with an angled brush dipped in acetone. That crisp line at the cuticle is the whole salon look.
Are press-on nails a good DIY option?
Yes — modern no-glue press-ons last about a week and come off with warm water, no damage. They are the fastest route to a designed look and ideal for events or zero-patience weeks.
The full bundle
Shop the look
All 15 pieces in one list — tap any line to shop it. Prices are estimates and change often on Amazon.
Total estimated cost: $162
Tools · 4
$47Prep · 3
$25Gel · 1
$19Designs · 2
$14FLEUR45
Some chapters end quietly. Others become the beginning of your rebirth.
Launching October 31, 2026
Keep reading
All posts →- How-to

The Sudanese Glow: A Skincare Routine for Deep, Sun-Kissed Skin
Sandalwood paste, shea butter, dukhan. The Sudanese glow ritual is centuries old — here's how to fold it into a modern routine.
- How-to

Khaleeji Eye Makeup: The Cat-Eye Tutorial That Lasts 14 Hours
Sharp, lifted, unapologetic. The Khaleeji cat-eye is its own art form — here's how to execute it.
- How-to
How to Layer Oud Perfume Like a Khaleeji (Without Smelling Like a Mosque)
Layering oud is how Khaleeji women build a signature scent. Here's the formula — and the pairings to avoid.
Editor recommends
Some links are affiliate links — they cost you nothing extra.